
Installing Package Bees vs Nucs: The Complete Guide to Establishing Your First Honeybee Colony
Starting your beekeeping journey is an exciting moment, but the first critical hurdle is successfully installing your colony into its new hive. The two primary methods for starting a hive are using package bees (a screened box of bees and a queen) or a nucleus colony (nuc) (a mini-colony with frames of brood, honey, and a laying queen).
Mastering the process of Installing Package Bees vs Nucs is crucial for long-term hive success. Choosing the wrong method, or making a mistake during installation, can result in the loss of your colony. This comprehensive guide provides step-by-step instructions, essential timing tips, and expert advice to ensure your bees thrive from day one.
Understanding Your Options: Package Bees vs. Nucs
Before installation, you must understand the differences, as they dictate the entire installation process and the colony’s immediate survival rate.
Why Nucs are Recommended for Beginners
For a beginner, the nuc offers a significant advantage: the queen is already laying, the workers are familiar with her pheromones, and they have existing food stores and baby bees. This drastically reduces the risk of the colony failing immediately after installation.

Nuc Transfer & Expansion Kit
Kada tvoj nukleus stigne, biće mu potreban novi dom odmah. Ovaj set uključuje dodatne ramove sa satnim osnovama i hranilicu—sve što ti treba da tvoj 5-ramni nukleus postane snažno 10-ramno društvo.
Get Installation Gear on Amazon →*Live bees must be ordered from local suppliers.
Preparing Your Hive for Installation
Preparation minimizes stress and maximizes the chances of success, regardless of whether you are Installing Package Bees vs Nucs.
Location, Timing, and Equipment Check
- Level the Hive: Ensure the hive stand is perfectly level front-to-back and side-to-side.
- Install Frames: Have all 10 frames (or 8 for a deep box) prepared with foundation or drawn comb. If using package bees, you will remove frames for the installation process, but have them ready.
- Prepare Feed: Have a feeder (in-hive feeder or top feeder) filled with 1:1 sugar syrup (one part sugar to one part water) ready to go. Feeding is non-negotiable for new colonies.
- Optimal Weather: Install the bees on a warm, calm, sunny day (above 50°F / 10°C). Avoid wind and rain.
Step-by-Step: Installing Package Bees
Installing a package is often called the “shaking method.” It is essential to treat the bees gently, as they are already stressed.
1. Preparing the Package
- Spray: Lightly spray the outside of the package cage with sugar syrup or plain water. This distracts the bees and prevents them from flying aggressively.
- Remove Queen Cage and Feeder: Gently pry up the wood cleat, remove the feeder can, and pull out the caged queen.
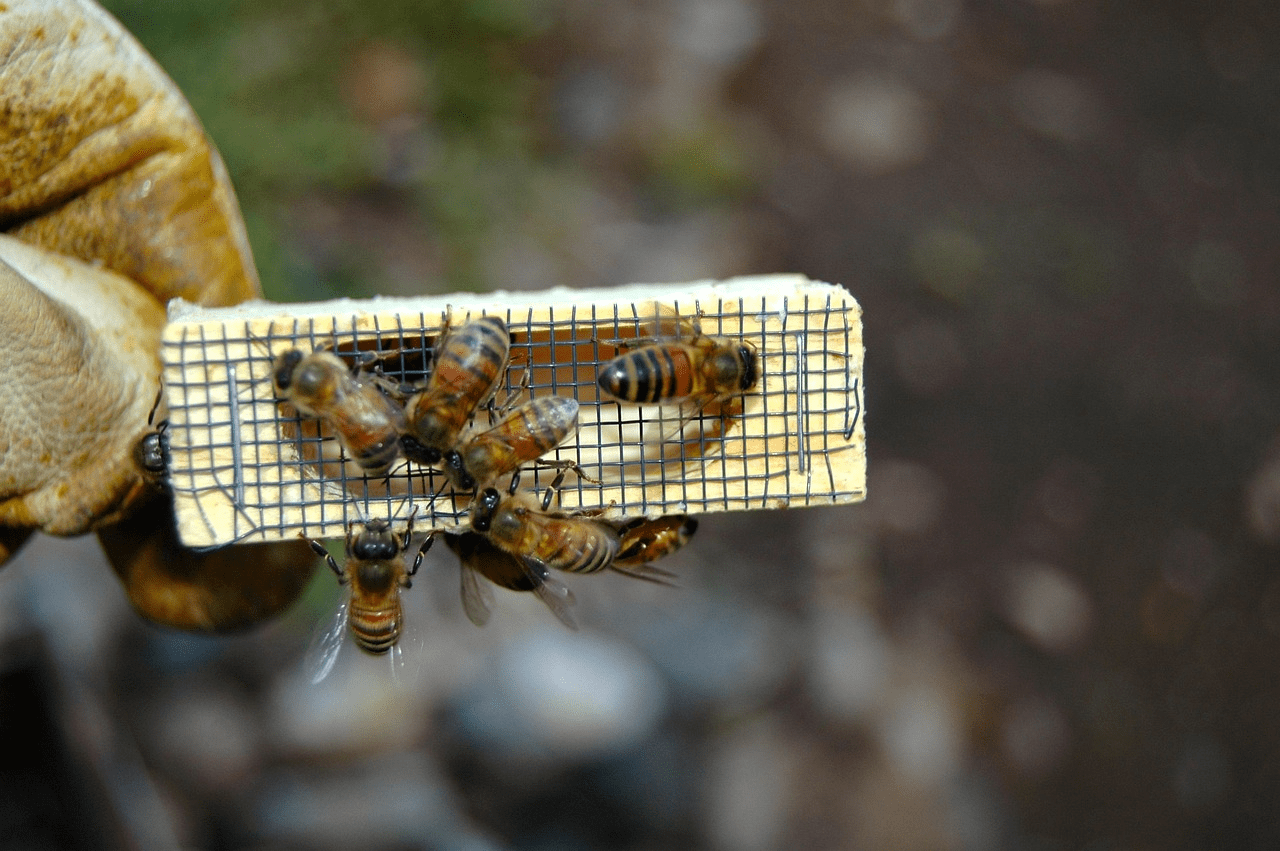
2. Installing the Queen
This is the most sensitive step. The queen must be accepted by the new workers.
- Inspect the Queen: Verify she is alive and healthy inside her cage.
- Set the Cage: Remove the cork blocking the candy end of the queen cage. Place the cage, candy end up, between the center two frames, ensuring the workers can access her.
- Wait: Do not disturb the hive for 3–4 days. The workers must chew through the candy to release her, slowly acclimating to her pheromone.
💡 Pro Tip: The Marshmallow Trick
If your queen cage has a wooden plug instead of a candy end, or if the candy is too hard, replace the plug with a mini-marshmallow. It is the perfect consistency for the bees to chew through in 24-48 hours, ensuring a timed and safe release of the queen.
3. Shaking the Bees
- Remove Frames: Remove 4–5 center frames from the brood box.
- The Shake: Hold the package over the open hive box, give the package a firm, quick shake to drop the cluster of bees to the bottom, and invert the box.
- Pour: Pour the main cluster of bees directly into the space where the frames were removed.
- Reinstall Frames: Carefully place the removed frames back into the hive, gently pushing the bees down.
Step-by-Step: Installing a Nucleus Colony (Nuc)
Installing a nuc is the simpler, less stressful method. You are essentially transferring an already working hive.
1. Preparation and Transfer
- Open Nuc: Gently open the nuc box and remove the protective spacer or feeder frame.
- Find the Queen: Locate the queen to confirm she is present and laying. This is your insurance.
- Transfer Frames: Carefully lift the first frame from the nuc and transfer it into the new hive body, maintaining the same orientation (brood pattern placement). Repeat this process for all 4 or 5 frames, ensuring they remain in the same order as they were in the nuc.
A level hive is critical for straight comb; see our guide on Choosing the Best Location for Your Hive for more site prep tips.
2. Adding Remaining Frames and Feeding
- Add Foundation: Fill the remaining space in the new hive body with your new frames (foundation or drawn comb).
- Feeding: Immediately install the internal feeder and fill it with 1:1 sugar syrup. Nucs require feeding to stimulate rapid growth and comb drawing in their new, larger home.
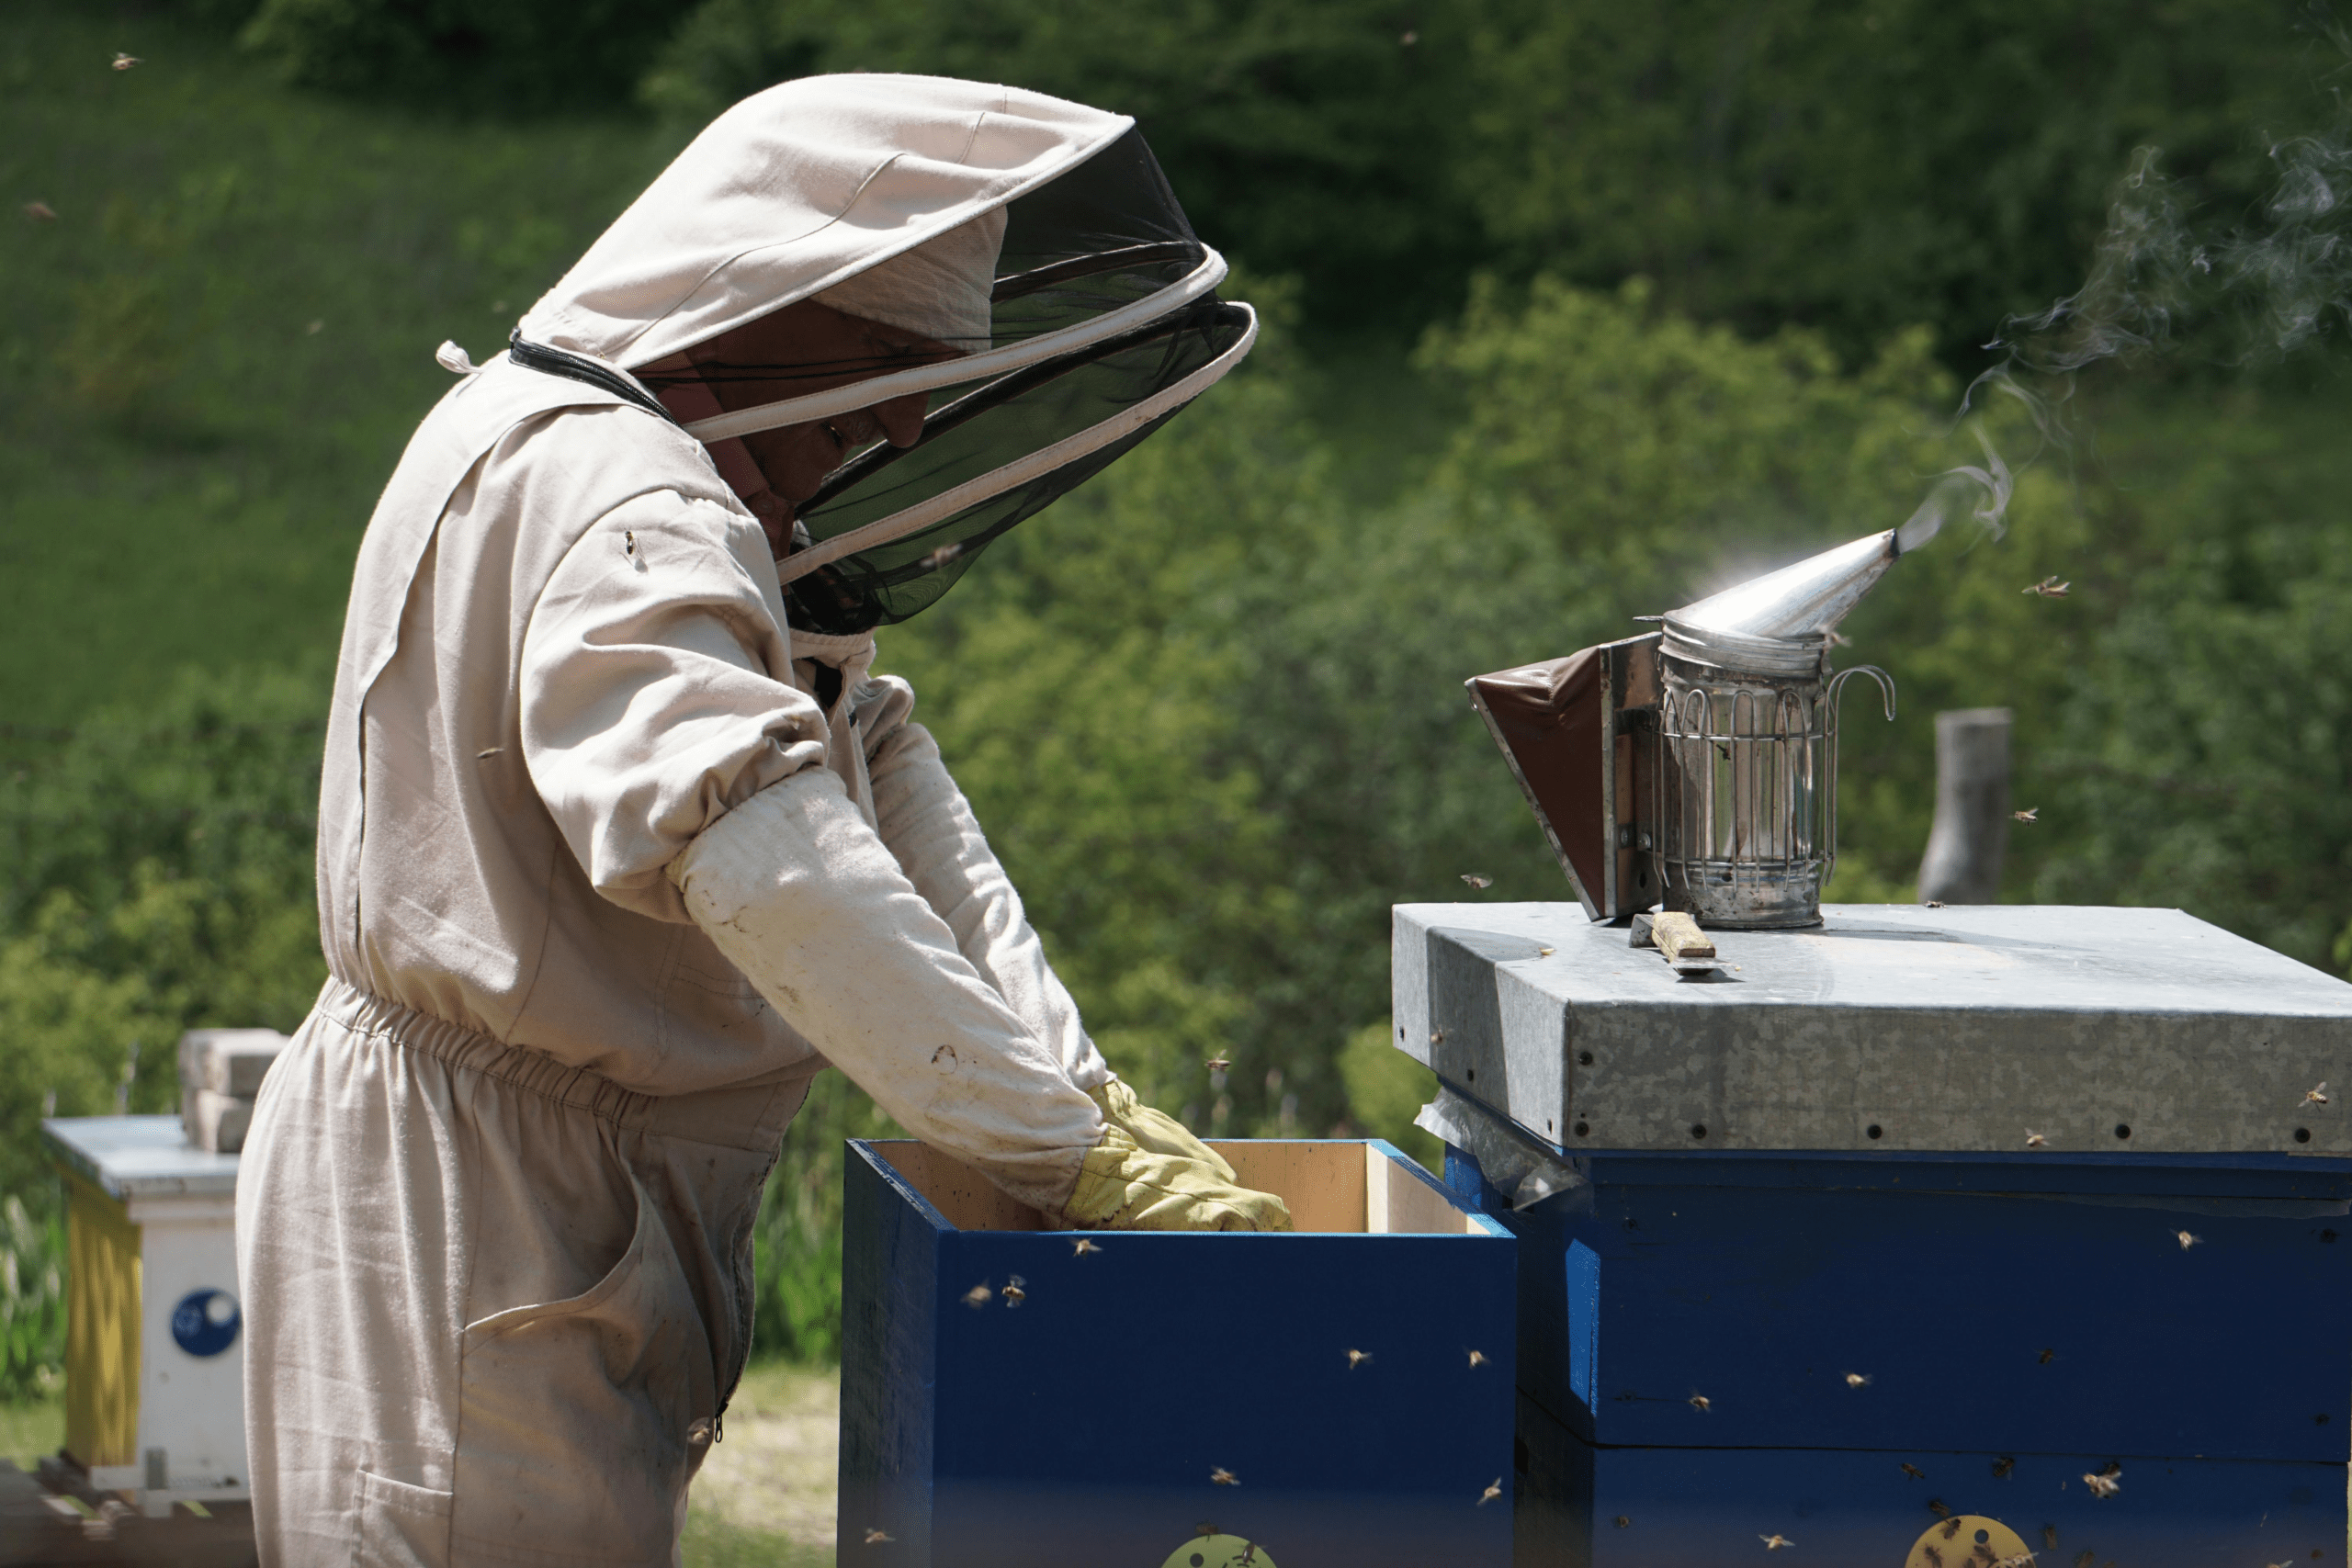

Early Detection is Key
Managing Chalkbrood Disease starts with a thorough inspection. To spot the “mummies” early and maintain hive hygiene, you need high-precision Beekeeping Tools and protective gear.
- Stainless Steel Hive Tool: For scraping infected frames.
- High-Quality Smoker: To calm bees during disease checks.
- Hygienic Monitoring: Essential for tracking colony health.
Post-Installation Care: The First 7 Days are Critical
The work is not over once the bees are inside. The first week is crucial for setting up the long-term success of the colony.
The Waiting Period (Day 1–3)
- Do Not Open the Hive: Do not perform a full inspection for at least 3 days. Any disturbance can stress the queen (especially package bees) and cause the colony to abscond (leave the hive entirely).
- Monitor Feed: Ensure the feeder is full. They need fuel to draw comb and settle in.
First Full Inspection (Day 4–7)
- Nucs: Check to see if the queen is actively laying in the new foundation or comb you added.
- Package Bees: This is the time to confirm the queen has been released from her cage (the candy plug should be gone). Check for signs of her beginning to lay eggs in the center frames.
- Queen Acceptance: If you see eggs or very young larvae, the installation was a success! If you do not see the queen or eggs, you may need to order a replacement queen immediately.
Frequently Asked Questions (FAQ) on Colony Installation
New colonies, especially packages, have no stored food and must draw comb quickly. Feeding 1:1 sugar syrup provides the immediate energy needed for comb drawing and rapid population growth.
After 4 days, if the candy plug is still intact, you should manually release the queen. Use a clean toothpick to gently clear the remaining candy and let her walk out onto the frame, minimizing disturbance.
Yes, if the existing hive is empty. Ensure all old comb is clean and pest-free. The bees will readily use any existing drawn comb to speed up the process.
Conclusion: Success is in the Preparation
The decision between Installing Package Bees vs Nucs depends on your budget and experience level, but regardless of your choice, success hinges on meticulous preparation and gentle handling. Remember to prioritize the queen’s acceptance, ensure constant access to sugar syrup, and resist the urge to inspect too frequently in the first week. By giving your new colony a clean, warm environment and ample resources, you lay the foundation for a healthy, productive hive for years to come.
🐝 A Century of Beekeeping Wisdom
"Beekeeping is more than a hobby for me—it’s a family legacy. From my great-grandfather to my brother and me, we’ve managed our apiaries in the rugged landscapes of Herzegovina for four generations. Today, we care for over 300 hives, blending century-old traditions with modern techniques. Every tip I share comes directly from our hives to your screen."

